
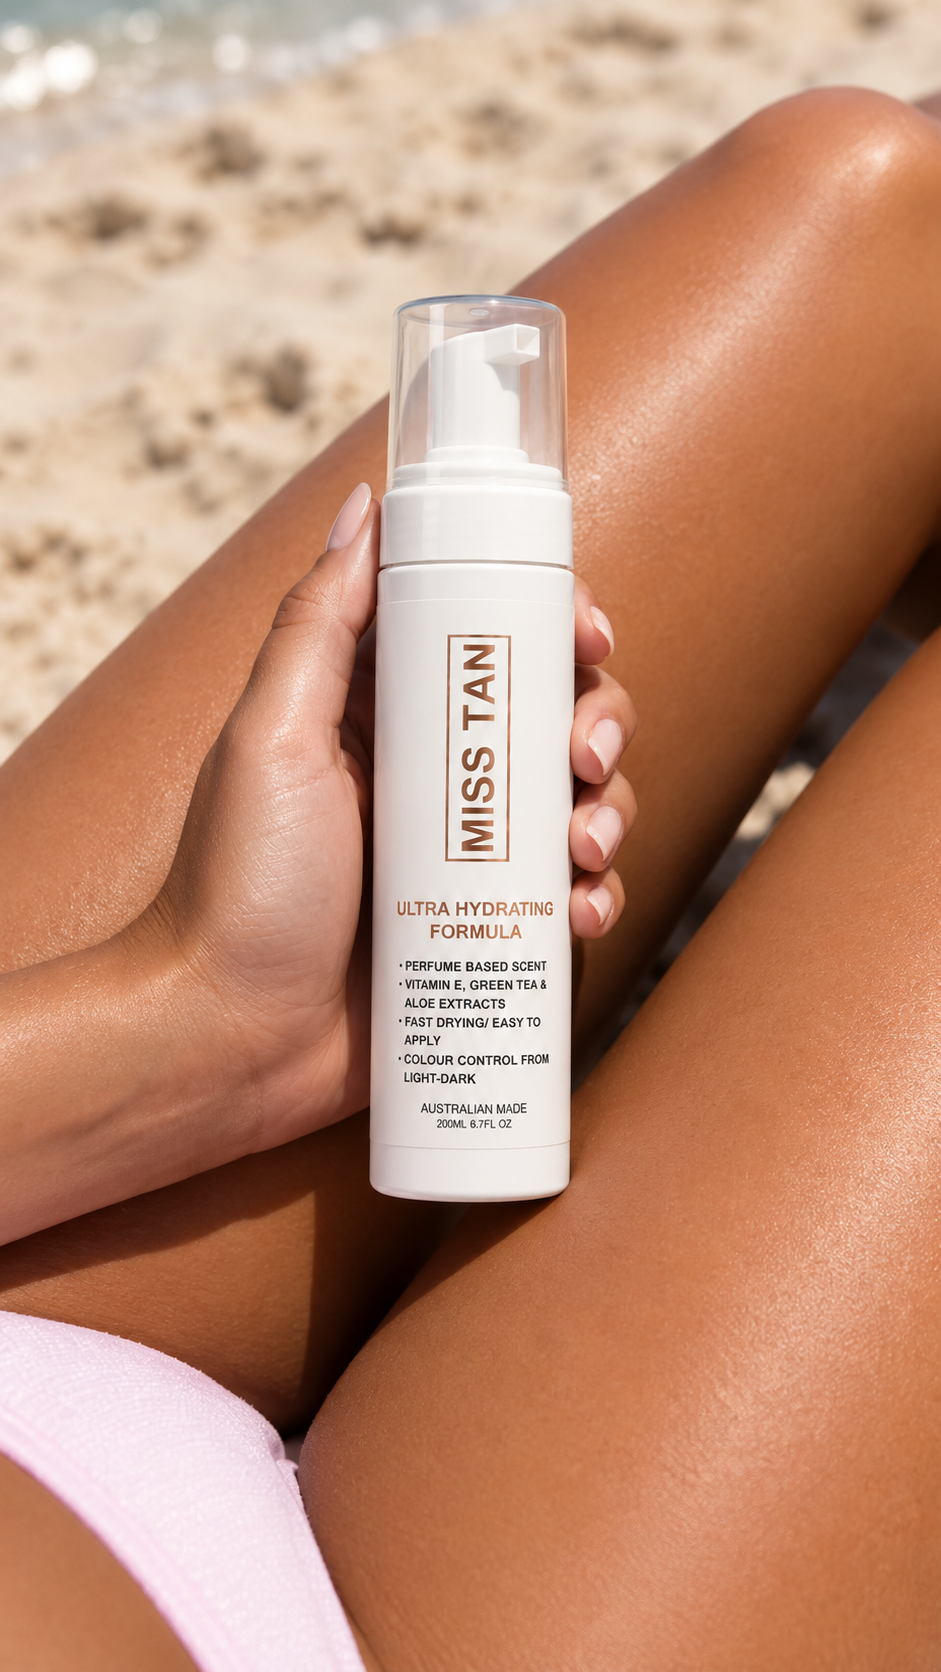
How to Apply Self Tan for an Even, Natural-Looking Finish
A natural-looking self tan starts long before you apply your tanning mousse.
From preparing your skin properly to using the right amount of product, a few simple changes to your tanning routine can make the difference between a smooth, even glow and a patchy or streaky result.
If you're new to self tanning, or simply want to improve your current routine, this guide will take you through how to apply self tan step by step.
Step 1: Exfoliate Before Applying Self Tan
One of the most important steps when preparing for a fake tan is exfoliation.
Dry and uneven areas of skin can absorb self tanning products differently, which can leave areas such as your knees, elbows and ankles looking darker than the rest of your body.
Gently exfoliating helps remove dead skin cells and creates a smoother surface for your tanning mousse.
For the best result, pay particular attention to:
-
Knees
-
Elbows
-
Ankles
-
Feet
-
Hands
-
Any particularly dry areas
Using a dedicated MissTan Exfoliating Mitt can make this process much easier and helps prepare the skin before your next tan.
If you're removing an old self tan, exfoliation can also help remove remaining patches before applying a fresh layer.
Step 2: Start With Clean, Dry Skin
Before applying your MissTan Tanning Mousse, make sure your skin is clean and completely dry.
Try to avoid applying heavy moisturisers, body oils, perfumes or other products immediately before tanning unless they're being used specifically on a dry area.
These products can create a barrier between your skin and your tanning mousse, potentially affecting how evenly the product develops.
If you've recently showered, give your skin time to cool and dry before beginning your tanning routine.
Step 3: Protect Dry Areas
Certain areas naturally absorb more tanning product than others.
Before applying your MissTan Tanning Mousse, use a small amount of moisturiser on particularly dry areas such as:
-
Elbows
-
Knees
-
Ankles
-
Knuckles
-
Around the wrists
-
Heels
You only need a light layer.
The aim isn't to completely cover the skin. You're simply helping prevent these areas from absorbing too much tanning product.
Step 4: Use a MissTan Applicator Mitt
When applying MissTan Tanning Mousse, a good applicator mitt can make a huge difference.
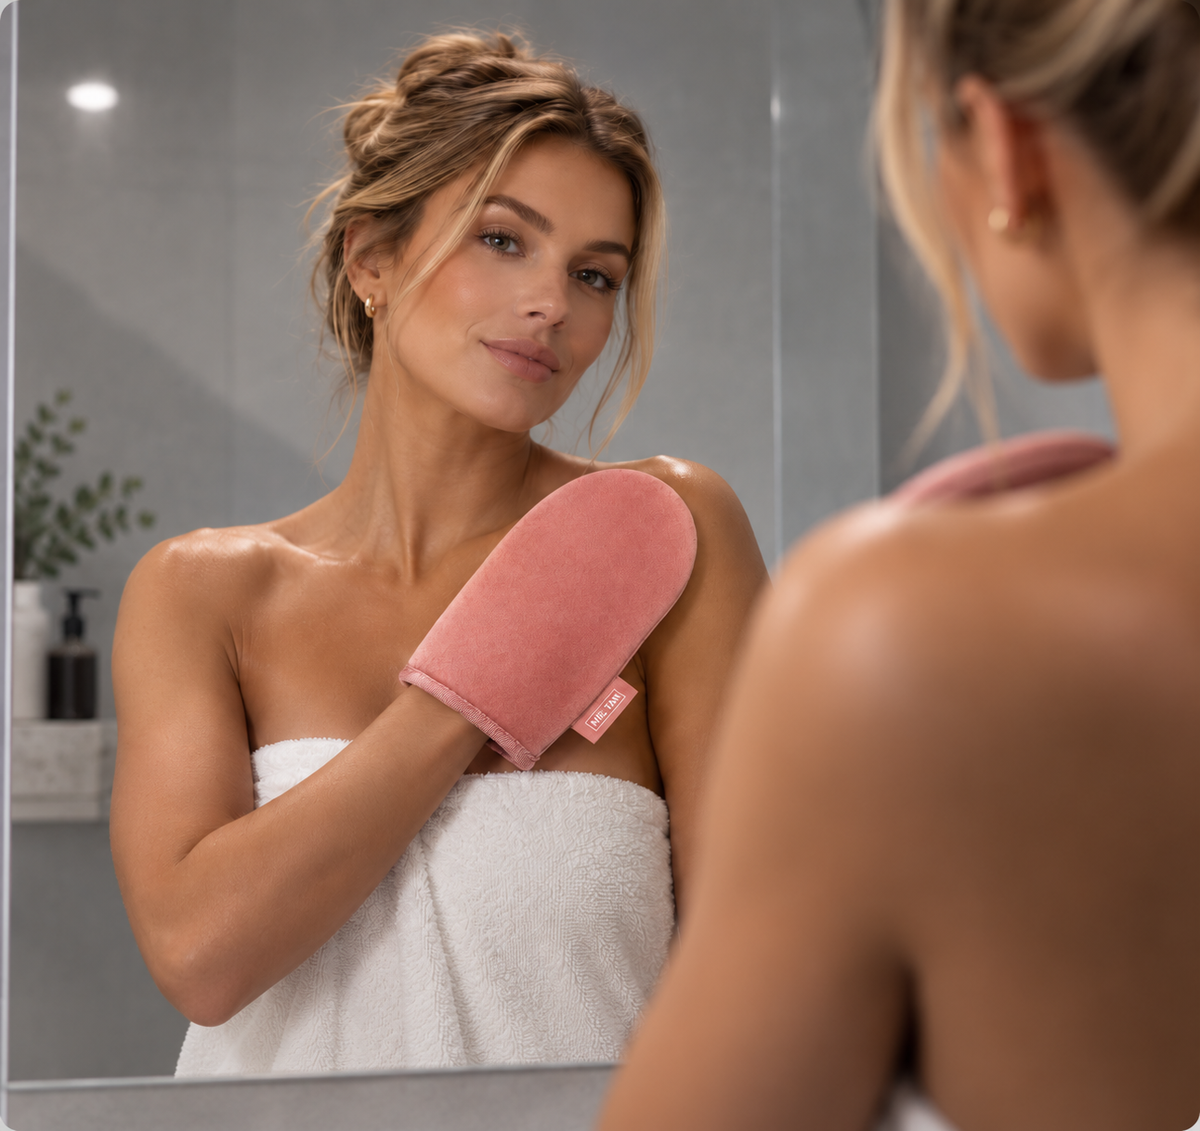
Rather than applying MissTan Tanning Mousse directly with your hands, dispense the mousse onto your MissTan Applicator Mitt and gently work the product into your skin.
Using a mitt helps distribute the tanning mousse more evenly while also helping keep the palms of your hands clean.
Work in sections rather than trying to tan your entire body at once.
For example:
-
Lower legs
-
Upper legs
-
Stomach and torso
-
Arms
-
Chest and shoulders
-
Back
-
Hands and feet
This makes it much easier to see where you've already applied your tan.
Step 5: Apply Using Smooth, Even Motions
Apply your MissTan Tanning Mousse using smooth circular or sweeping motions.
The goal is to create a thin, consistent layer rather than applying a large amount of product all at once.
Take your time and gently blend each section into the next.
Pay extra attention where different areas meet, including around your:
-
Wrists
-
Ankles
-
Shoulders
-
Underarms
-
Neck
Good blending is one of the easiest ways to create a more natural-looking result.
Step 6: Use Less Product on Hands, Feet, Knees and Elbows
Hands, feet, knees and elbows generally don't need as much tanning product as larger areas of the body.
Instead of adding another full pump of MissTan Tanning Mousse, use the small amount of product remaining on your MissTan Applicator Mitt.
Lightly sweep the mitt across these areas and blend carefully.
For your hands, gently blend the product over the back of your hand and toward the fingers rather than heavily coating every area.
The same principle applies to your feet.
A subtle transition usually looks much more natural than a heavily tanned hand or foot.
Step 7: Don't Forget Your Back
Your back is one of the most difficult areas to tan evenly by yourself.
Rather than twisting and stretching to reach the middle of your back, using a dedicated MissTan Back Applicator can make the process much easier.
Apply your MissTan Tanning Mousse to the MissTan Back Applicator and gently move it across your back using smooth side-to-side motions.
This can help create more even coverage across an area that would otherwise be difficult to reach.
Step 8: Let Your Tan Develop
Once you've finished applying your self tan, allow the product to dry and develop according to the directions provided with your tanning mousse.
Avoid excessive rubbing, sweating or activities that may disturb the product while it is developing.
Loose-fitting clothing can also help reduce unnecessary friction against freshly applied tan.
How to Make Your Self Tan Look More Natural
A great fake tan shouldn't necessarily look like a fake tan.
The goal is usually an even, healthy-looking glow that works naturally with your skin tone.
The biggest mistake people make is assuming that more tanning product automatically means a better result.
Instead, concentrate on:
-
Preparing your skin properly
-
Applying a consistent layer
-
Blending carefully
-
Using less product on dry areas
-
Giving the tan enough time to develop
You can always build your colour gradually rather than trying to achieve your darkest possible result in a single application.
How to Make Your Self Tan Last Longer
Once you've achieved the colour you want, looking after your skin can help your tan fade more evenly.
Try to keep your skin moisturised and avoid aggressively exfoliating while you're trying to maintain your tan.
When your tan eventually starts to fade, gently exfoliate before applying your next layer.
This helps prevent new tanning mousse from being applied over uneven patches of old tan.
Build Your Complete Self-Tanning Routine
Getting an even self tan becomes much easier when you have the right preparation and application tools.
A complete tanning routine should include:
Preparing your skin properly, applying your tanning mousse evenly and giving extra attention to difficult areas can help create a smoother, more natural-looking finish every time.
A great self tan isn't about rushing the process.
It's about preparation, application and blending.

Share: